


This topic has been covered before in omnedon/Steve Logan's excellent 2003 post. However the process can be a little intimidating the first time, so here is some visual support.
These pics show a Sega Mega CD 2 RAM battery replacement. Naturally I take no responsibility for damage to your unit if you follow them. They are a quick once-over, so for more written detail refer to Steve Logan's post.
First you will need to remove the plastic shell from your Mega CD. Ensure no CD is inside, then flip the unit upside down and remove the 4 or so screws on the bottom. Turn the unit back the right way and pull the top free.
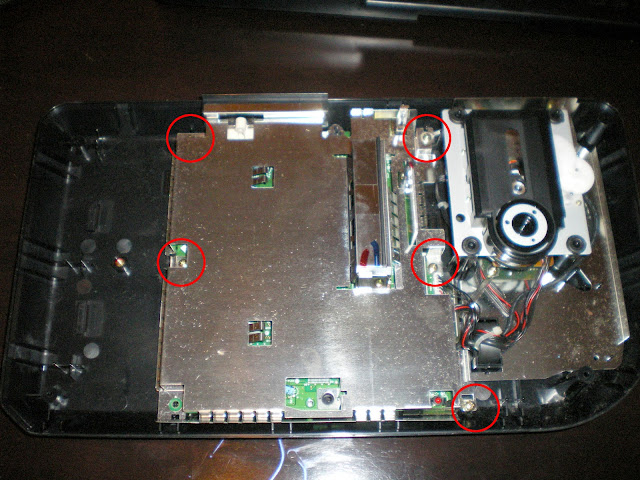
Inside, you will see the board is protected by this metal plate. We need to get at the board because that's where the battery is attached. Remove the 5 screws that are holding the plate down.
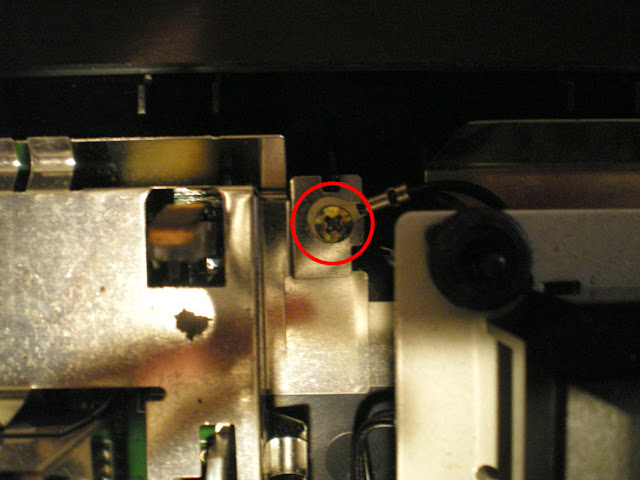
Take note of where the earth is connected. Under the top right screw.
Place the earth to the side for now, but don't forget to connect it back up when putting the plate back on at the end.
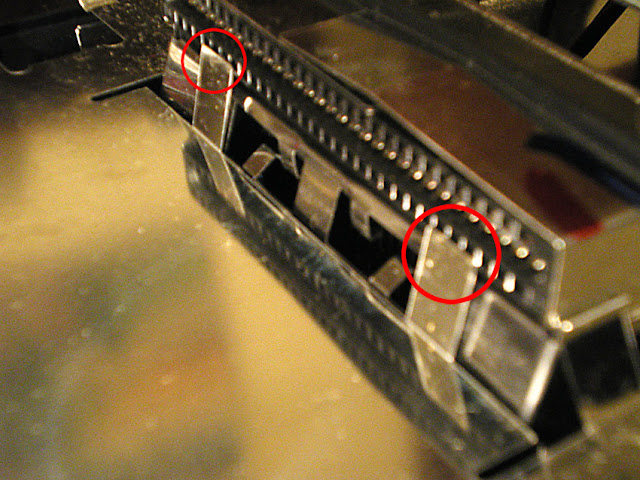
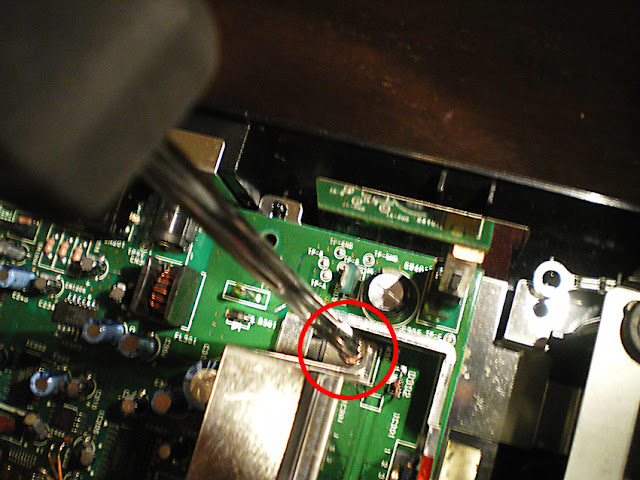
There are some prongs holding the metal plate down so you will need to free them.
Using a flat blade screwdriver, pry the prongs out from under the mega drive connection point. You will now be able to lift the plate free.
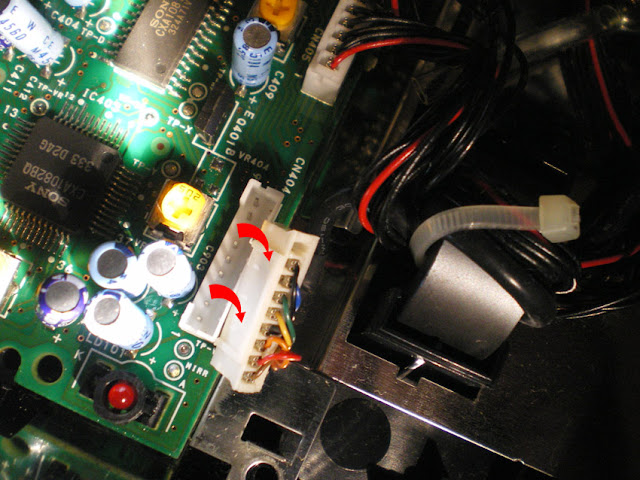
To be able to work on the battery, it's easiest to remove the board from the mega cd. Currently, it is still connected via 3 cables running to the laser assembly. We need to remove them. Take note of where they go for when you are putting the unit back together.
These are hard to remove so take your time and be gentle. You don't want to slip and damage anything.
Use a flat blade screwdriver to pry them away slowly. Be careful not to pull the sockets free of the board, or the Mega CD is junk.
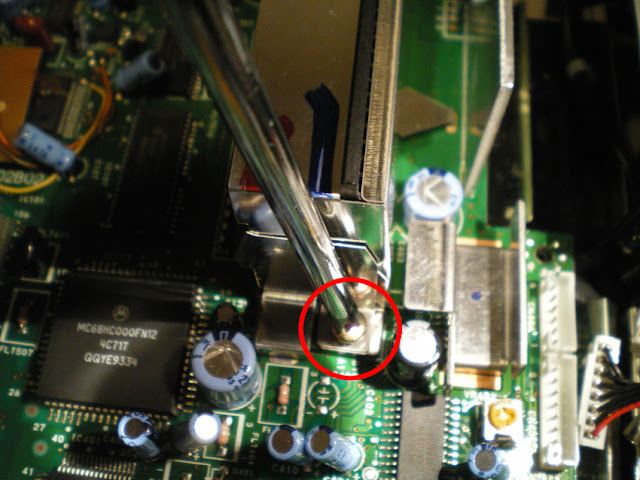
Two last screws next to the mega drive connection point need to be removed for the board to be free.
Cont'd next post...


 Reply With Quote