http://www.racketboy.com/forum/viewt...458437#p458437
 Desolder Suction Tool
Test the tool to see how it works. Push the plunger in until it locks. Cover the suction tip with your finger and press the release button. The plunger should not go all he way up because of you finger holding a vacuum at the tip. Remove your finger and observe how the plunger pops all the way up.
Before heating an electrical pad, be sure to have the suction tool in standby position with the plunger locked down. Heat up the the solder pad, remove Solder Iron. Quicky cover the melted solder pad with the suction tip and press the release button. It will suck up any solder that is in the melted fluid state.
Desolder Wick
The Desolder Wick is a copper braid and is flux coated. First try heating it with the solder gun away from the PCB to see how it works while cleaning the Solder Iron. Note how the wick draws in the solder from the solder gun tip. Every time you heat up the wick and draw in solder, it cannot be used again. The flux is burned off and you want to prevent introducing the drawn in solder back onto the PCB. Cut off the wick with the wire cutters, a little extra off to have a clean unheated flux coating braid.
Prepare the wick first by pinching with your fingers, offering a tighter point for better desolder control. Place the wick point over the solder pad and heat up the wick with the solder gun. Be careful not to overheat that might damage the solder pad on the PCB. The wick will draw in the solder onto its copper braid underneath.
Residual Solder
If you are still having trouble removing the solder you can try this. Do this only after you have removed as much solder as possible with the above two methods first. MELTED SOLDER RUNOFF COULD SHORT OTHER COMPONENTS. That said, I had a couple of chip legs that were still stuck with just a little solder in the hole. Heat up the leg and solder pad. While the melted solder is in a fluid state purse your lips and blow or use a can of air. Works faster then getting the suction tool into position, but risky where the melted solder lands. This is why a last resort.
Look closely at each desoldered Chip leg, check for clearance movement with a tiny Slotted Screwdriver.
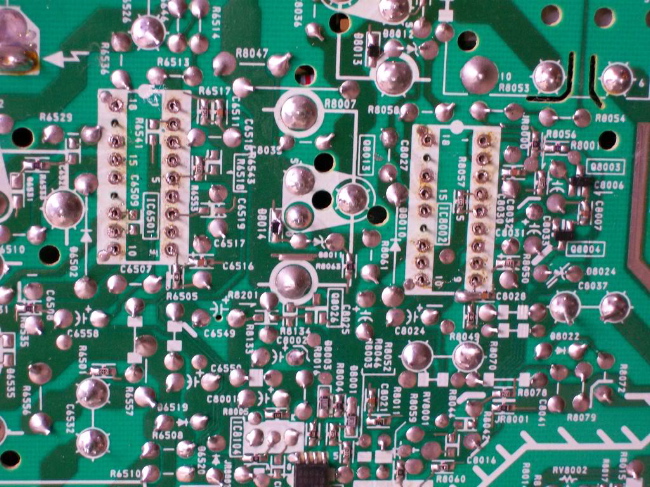 Verify each Chip leg
As you do each leg, check you progress with a magnifying glass. The PCB white marking will burn a little. That is okay as long as the solder pad does not get damaged or pulled up. Use a small slotted jewelers screwdriver, wiggle each leg to be sure it is clear of the PCB. TO PREVENT DAMAGE TO THE PCB, DO NOT FORCIBLY REMOVE THE CHIP. Once you confirm all legs are straight and free of the PCB, pull the chip with a Chip Puller or Needle Nose Pliers. You can also use the Off Set Screwdriver, do not force the old chip out.


 Reply With Quote

 Mario says "... if you do drugs, you go to hell before you die."


